Disclaimer: This page details my personal DIY experience. I have no qualifications to do this work. If you carry out any DIY based on information on this page you do so at your own risk and I accept no responsibilty for any negative outcomes.
I needed to take apart my wife's Sony Vaio laptop because the power connector was broken. There is another page describing the same problem on a Vaio VGN-S360P.
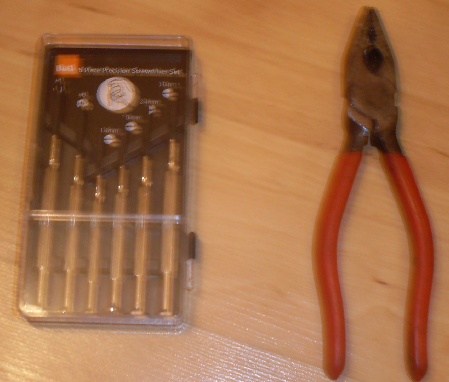
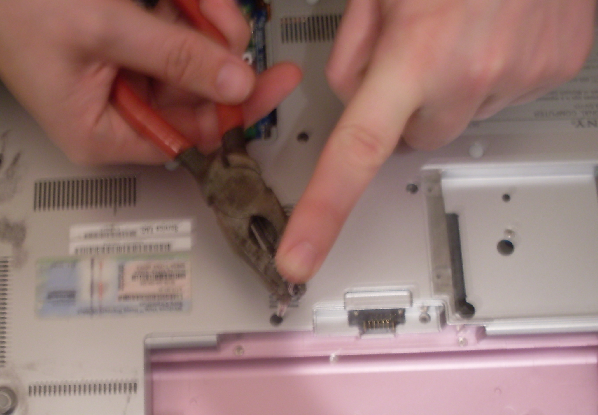
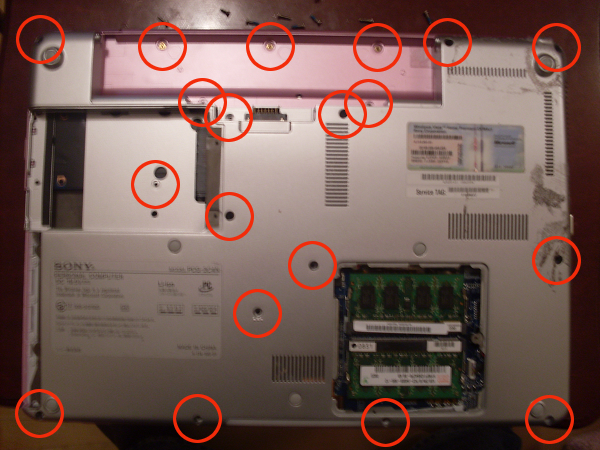
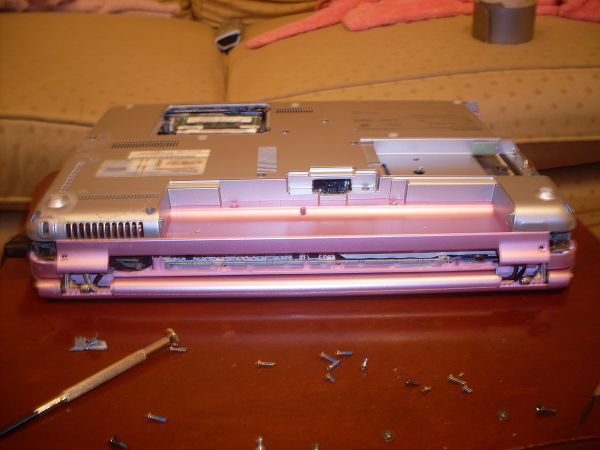
B&Q 6 Piece Precision Slotted Screwdriver Set and a pair of pliers. All screws that hold in replaceable components (disk drive etc) have raised dots next to them and can be removed with a cross head screwdriver. Those that hold the main case together (except the two on the corners below the hinge) have very small cross heads that even the smallest cross head screwdriver in the B&Q screwdriver set will not fit (you may be able to find one that fits). These screws are also very tightly screwed in. I removed these screws using the small flat end screwdriver. I loosened the screws by pressing down firmly on the end of the screwdriver and then turning it using the pliers as shown below.
 Step 1
Remove the battery by sliding the lock slider to the right and the release slider to the left and levering out using your thumb in the indentation between the lock and release sliders. Undo the CD drive screw, marked with three dots and slide out the CD drive.
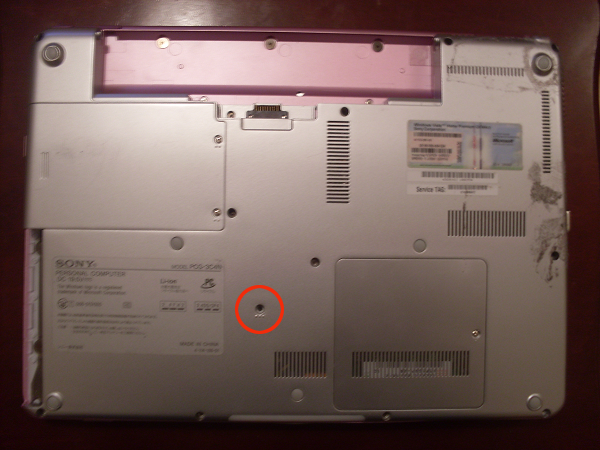
Remove the screws holding the disk drive cover marked with two dots. Lift off the disk drive cover to reveal the disk drive.
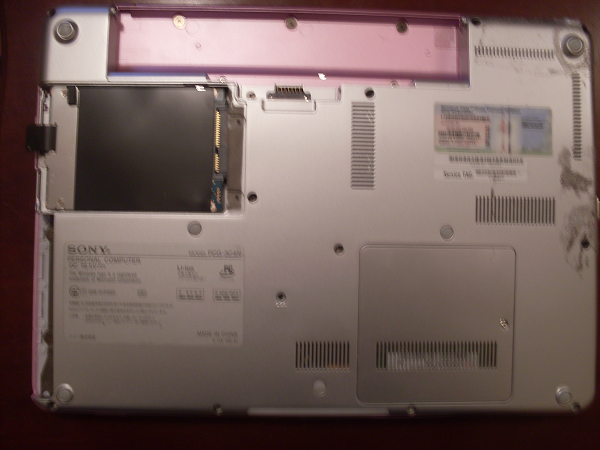
Remove the screw that holds the disk drive to the case. Pull out the disk drive using the black platic strip.
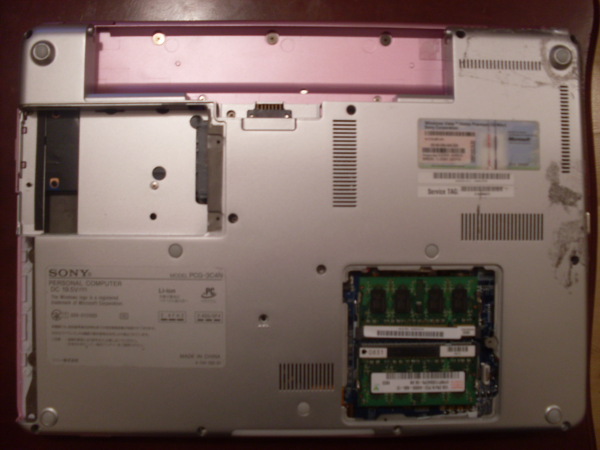
Remove the screw holding the memory cover marked with one dot. Lift off the memory cover to reveal the memory (I don't think this step is strictly neccessary to dismantle the main case).
Remove the rest of the screws that hold the case together.
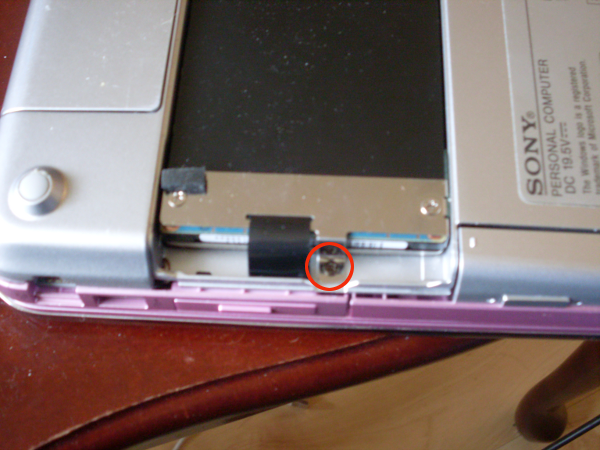
Prise the case apart and gently separate the base cover. Be careful because there is a wire that connects the base cover to the main laptop body (circled in the second picture below).
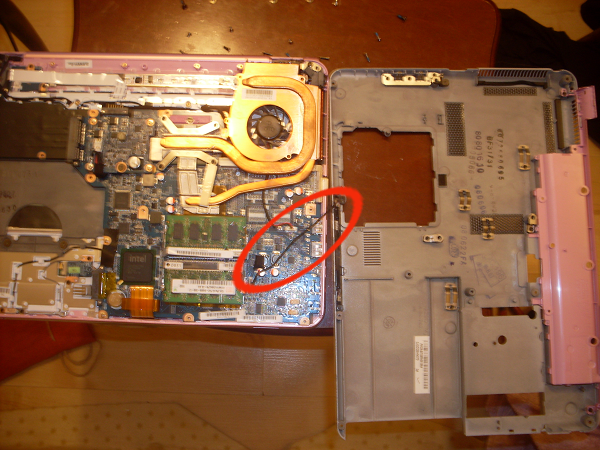
Separate the base cover by disconnecting the connecting wire from the main laptop body.
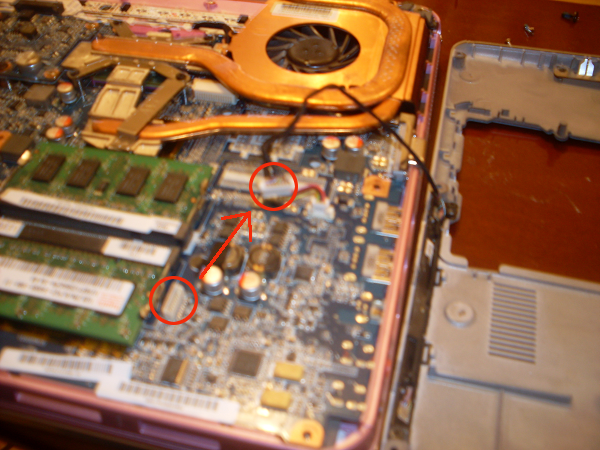
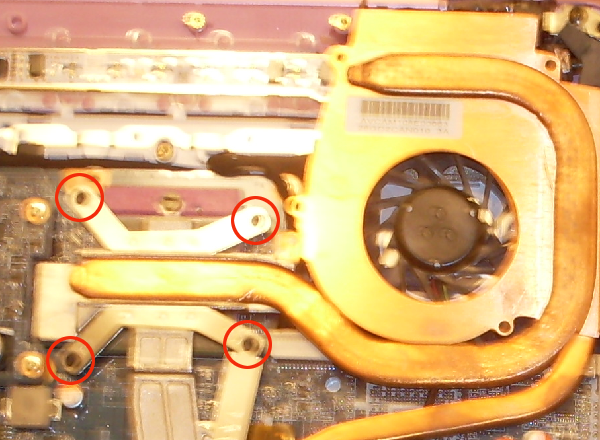
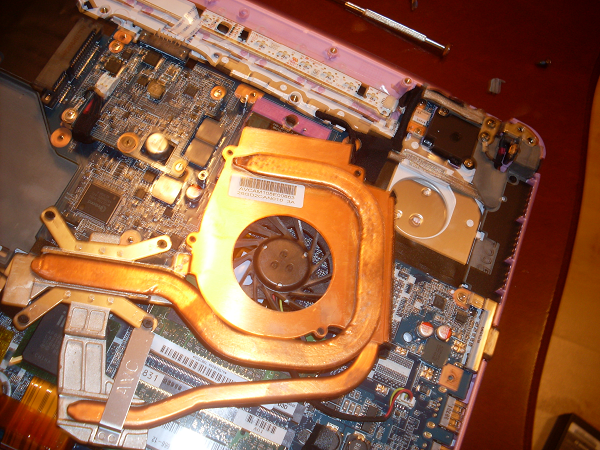
If you are repairing the power connector, you can release the fan and housing by removing the four screws shown below and then move it to the side to give more space to work.